Sign in with Facebook
ChatterMate Cloud. Embedded Signup onboards your number under ChatterMate’s Meta app — no app of your own, no tokens.
Enter credentials manually
Self-hosted, or anyone using their own Meta app. Paste a phone number ID and access token.
On ChatterMate Cloud, connecting is a few clicks. Meta’s Embedded Signup onboards
your number under ChatterMate’s reviewed Meta app, so there is no Meta app to create,
no access token to generate, and no webhook to configure — sign in with Facebook,
choose your number, assign an agent, and you’re live. It’s open to every Cloud account.
The manual path below is for self-hosters and anyone who prefers their own Meta app.
How WhatsApp messaging works
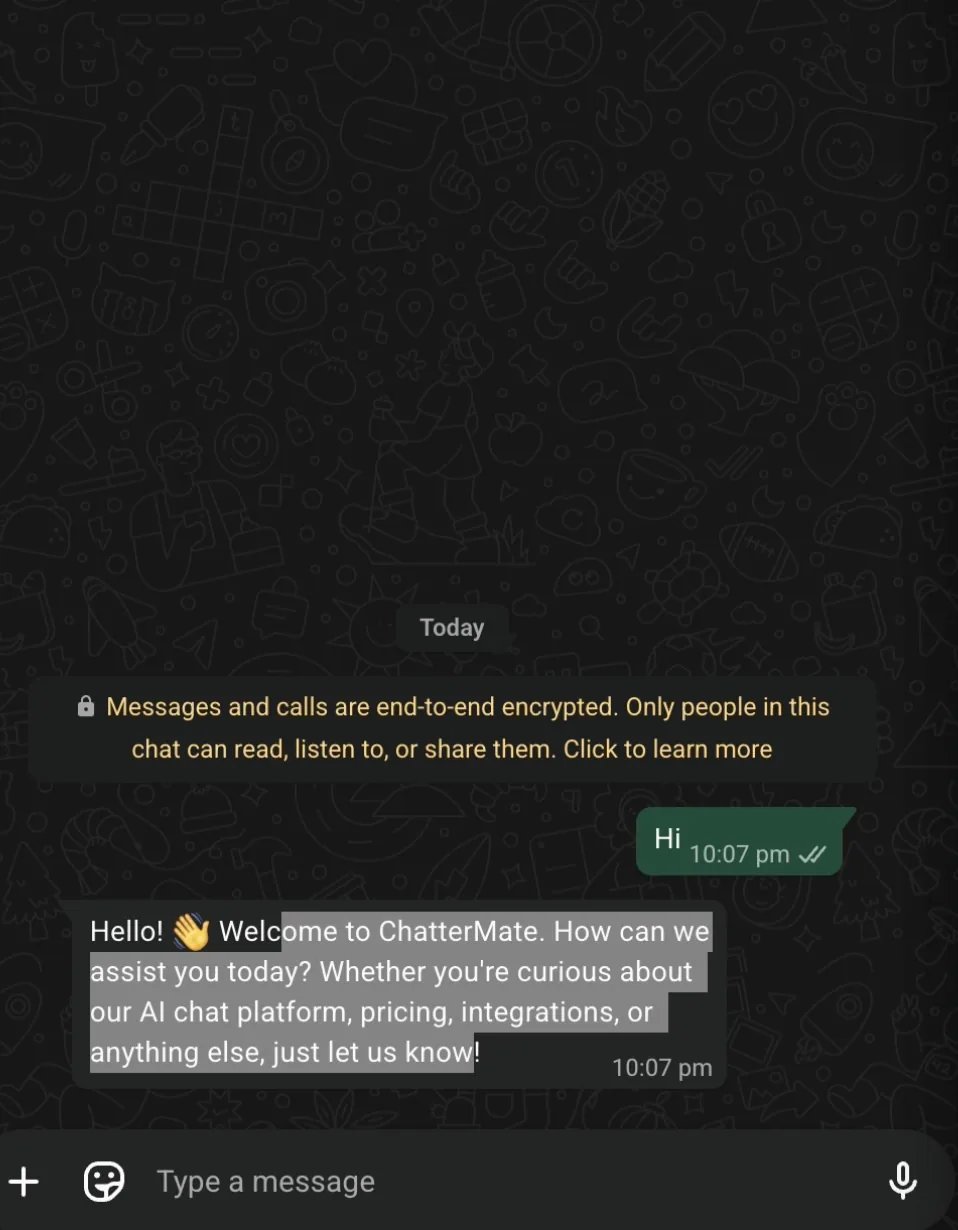
WhatsApp enforces a 24-hour customer service window: you can reply freely for 24 hours after the customer’s last message. Outside it you may only send pre-approved message templates. ChatterMate tracks the window per conversation and tells an agent when a template is required.Connect by signing in with Facebook
1
Open the WhatsApp card
Go to Settings → Integrations and click Connect on the WhatsApp card, then Continue with Facebook.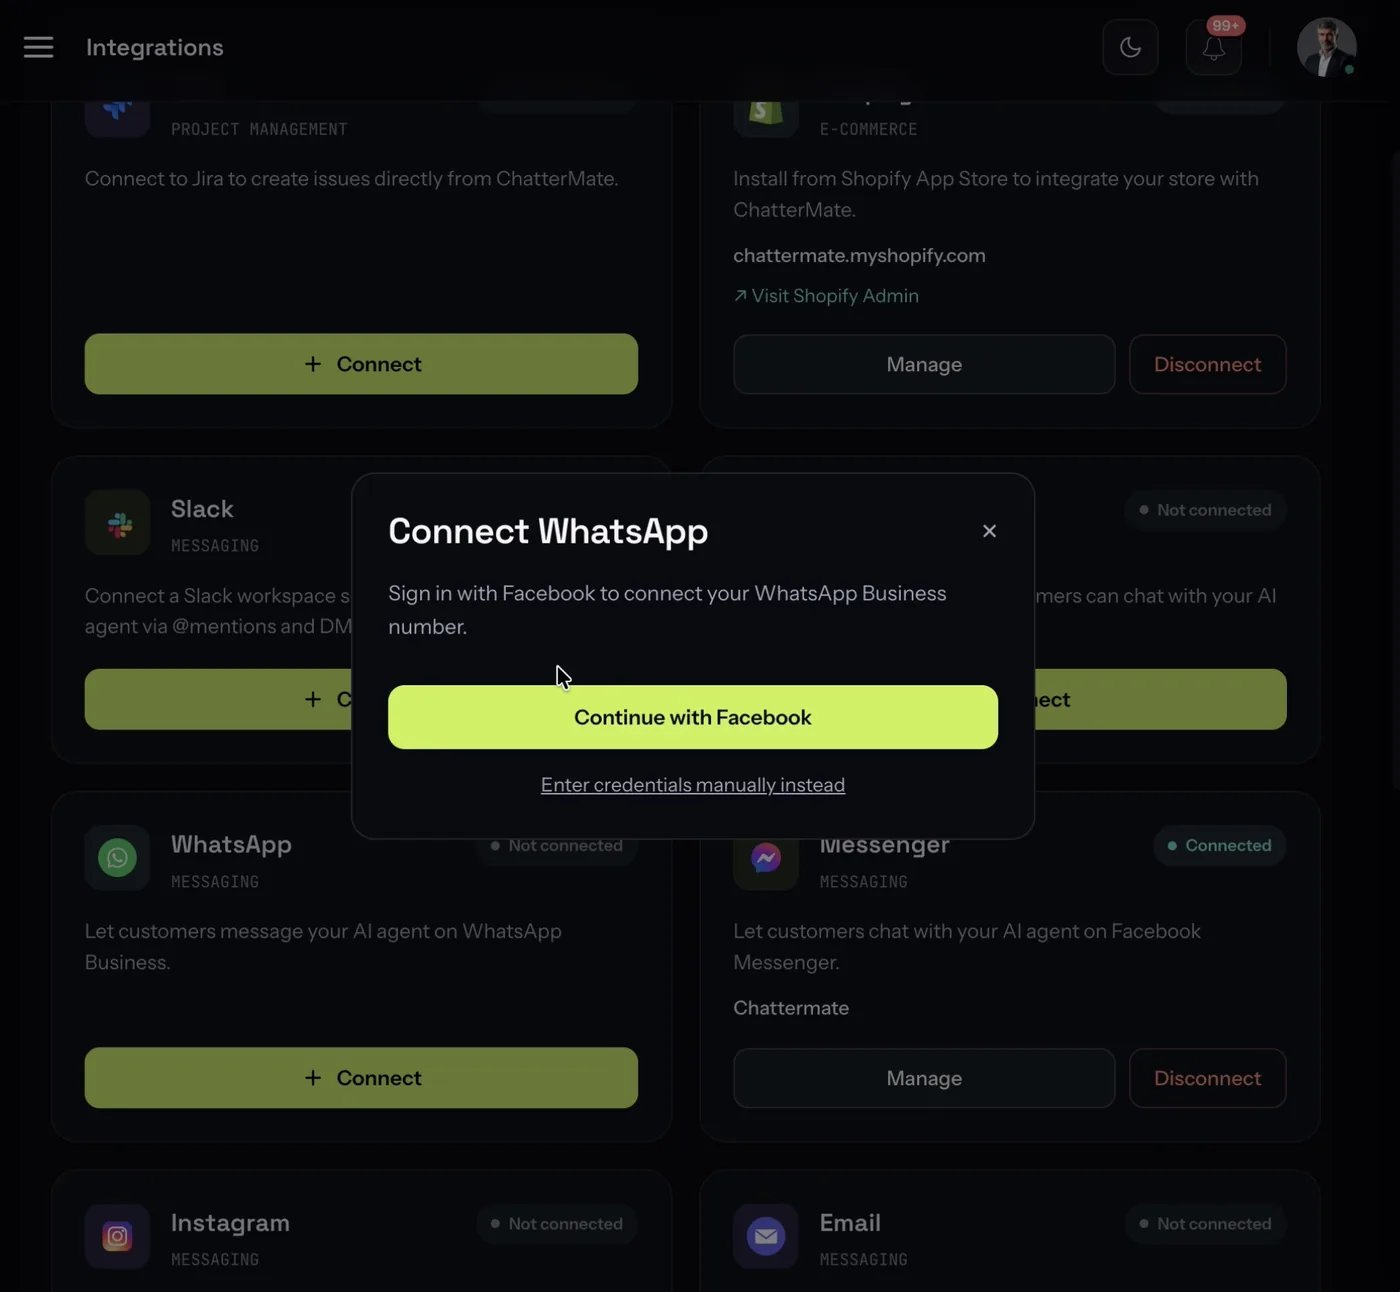
2
Complete Embedded Signup
Meta’s signup opens in a popup. Choose your business portfolio, then the WhatsApp Business Account and phone number you want to connect. If you don’t have a number yet, you can add one here.
3
Assign an AI agent
Choose the agent that answers this number and click Assign agent.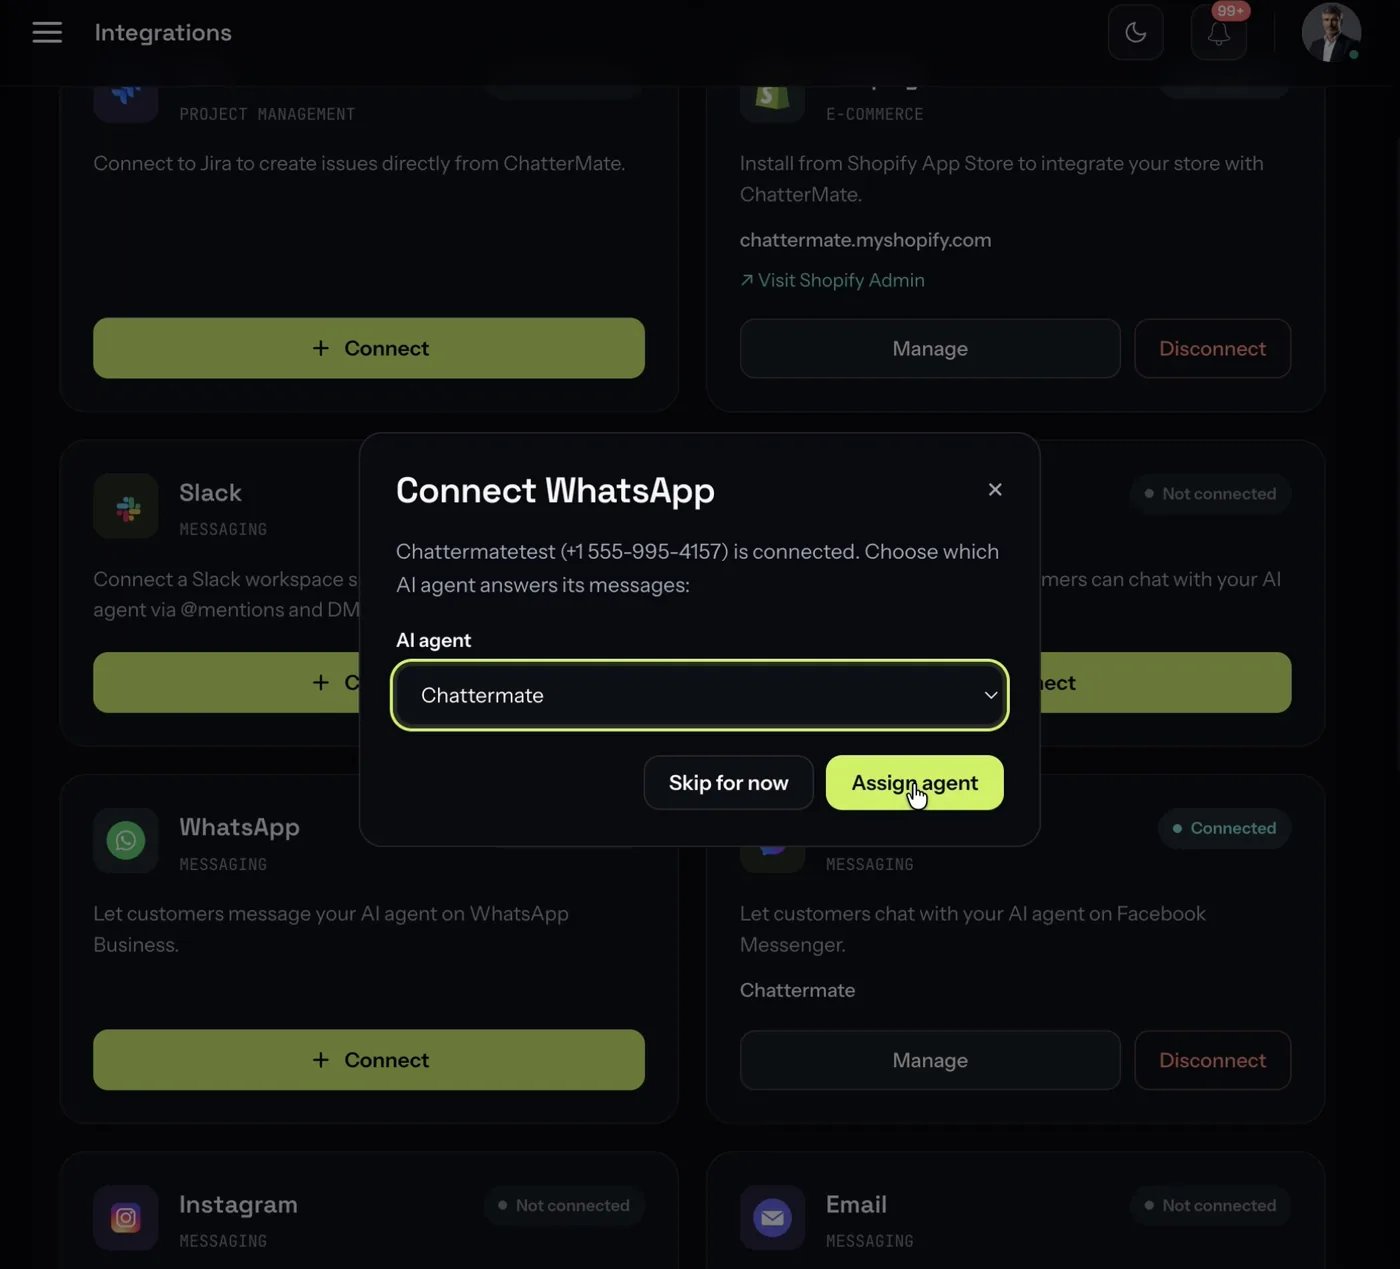
ChatterMate verifies that the number belongs to the account you just granted, registers it for the Cloud API, and subscribes the webhooks for you.
Connect with your own Meta app
Use this if you self-host, or would rather keep the integration under your own Meta app. All three Meta channels share one app, so if you’ve already set one up for Messenger or Instagram, skip to step 2.Step 1 — Set up a Meta app
1
Create a Business app
Go to developers.facebook.com → My Apps → Create App → Business.
2
Business Verification
In business.facebook.com → Business Settings → Security Center, submit your legal business details and a verification document, and verify your domain. This gates production access and takes a few days to about two weeks — start it first.
3
Add the WhatsApp product
In the app dashboard, add the WhatsApp product. Meta gives you a test number immediately, so you can build before approval.
4
Set the webhook
Under WhatsApp → Configuration, set the callback URL to
https://<your-domain>/api/v1/webhooks/meta and the verify token to your META_WEBHOOK_VERIFY_TOKEN. Subscribe to the messages field.Step 2 — Copy your credentials
From WhatsApp → API Setup:
Open the WhatsApp card in Settings → Integrations, choose Enter credentials manually instead, and paste them. ChatterMate stores them encrypted and verifies the signature on every inbound webhook.
Step 3 — App Review
A test number can only message people who have a role on your app. To reach real customers, submit App Review for:whatsapp_business_messagingwhatsapp_business_management
- Display name review (Business Manager → WhatsApp Accounts → Phone Numbers)
- Message template approval for anything sent outside the 24-hour window — each template is reviewed individually
Message templates
Templates reopen a conversation once the customer’s 24-hour window has closed. You write them in WhatsApp Manager; once Meta approves one it appears in ChatterMate and your agents can send it. Open them from Templates on the WhatsApp card.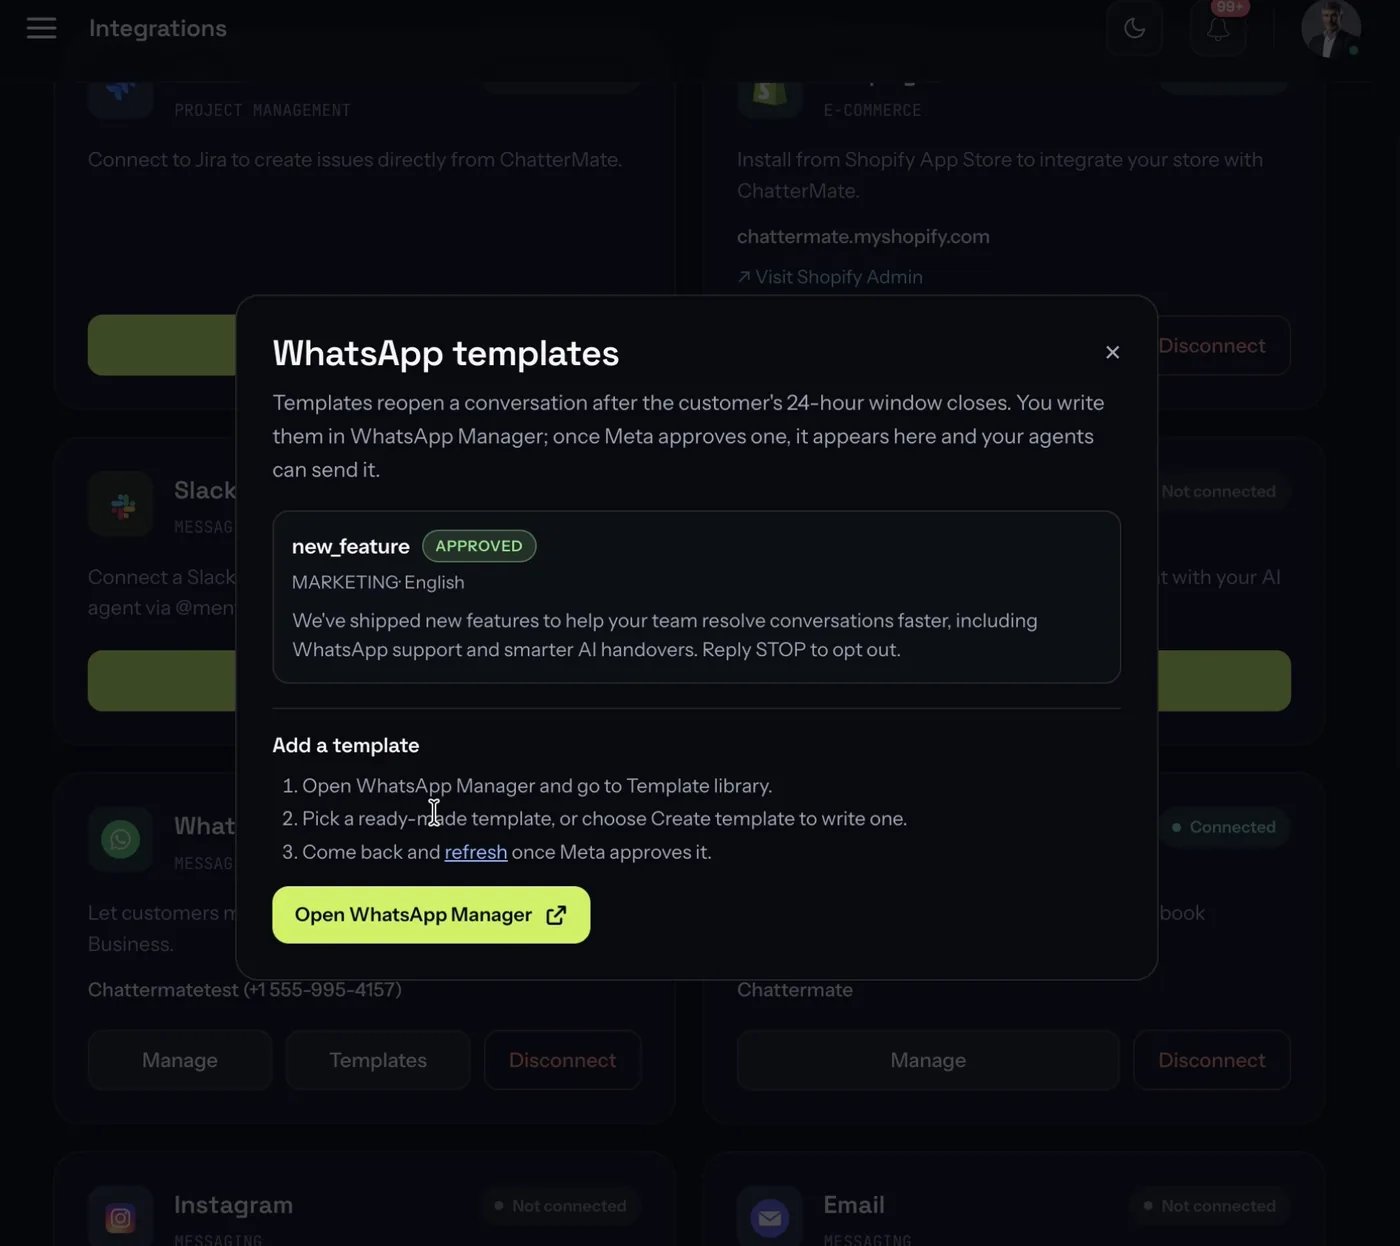
That is why a Marketing template appears under Send template in an existing conversation but not in New conversation — Meta only reliably delivers Utility and Authentication templates to someone who has not messaged you, and Marketing carries per-user caps.
Test it
Message your connected number from WhatsApp. If you signed in with Facebook on ChatterMate Cloud, message it from any number — app review is already done. If you connected with your own Meta app, only numbers with a role on that app can reach it until your own app review completes.